How to Add an Image
Here’s a step by step guide on how to
- add an image
- caption an image
- resize and reposition an image
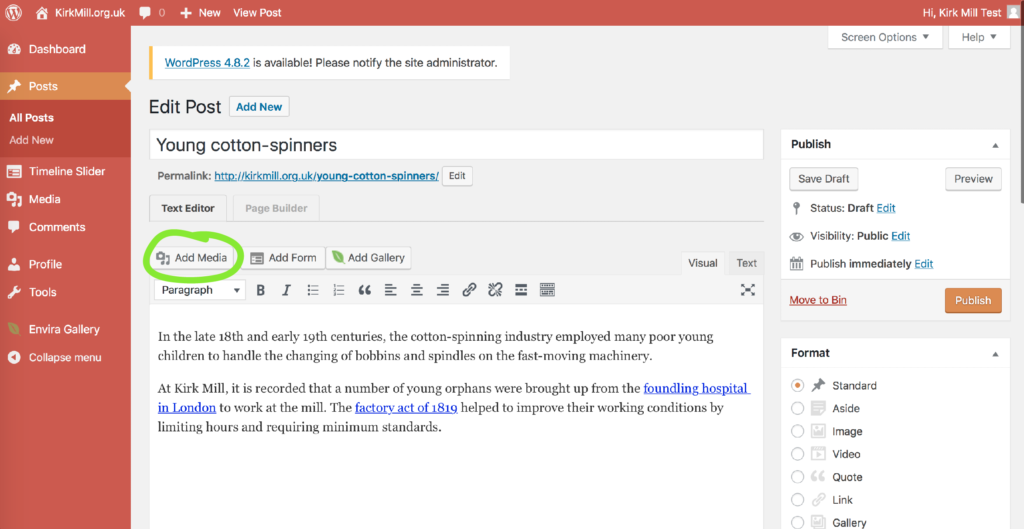
1. Open up the post you want to add an image to and click in the text area where you want add the image. Here I will add an image after the first paragraph.
Click ‘Add Media’
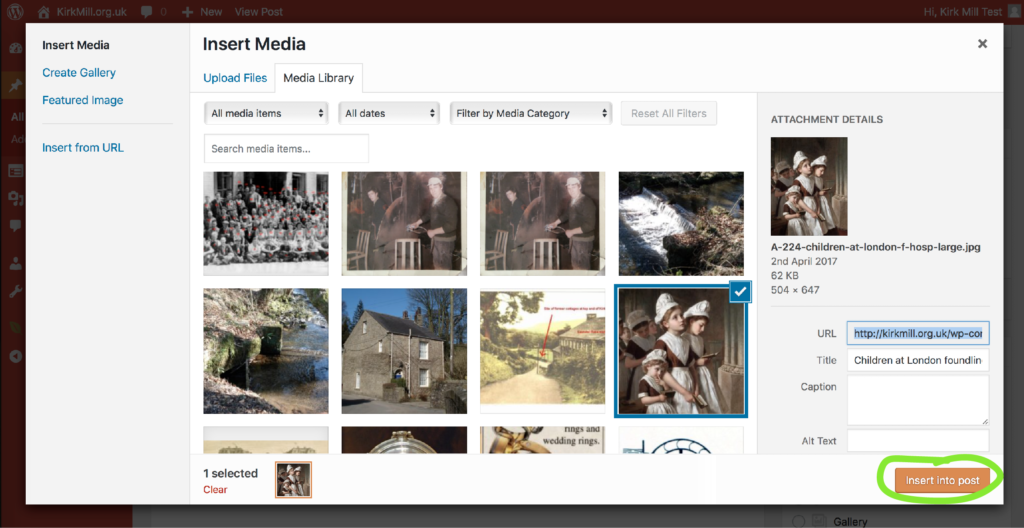
2. The media library will load (takes a few seconds). Now you can either add an image that has already been added to the media library or you can upload your own image.
3. To add an image from the library, scroll through the images available select the one you want to use. Click ‘Insert into post’
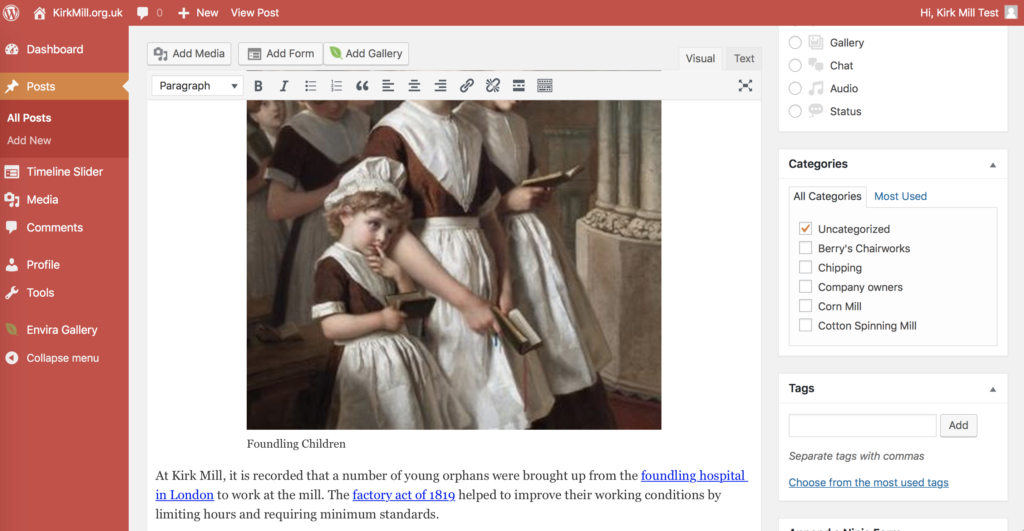
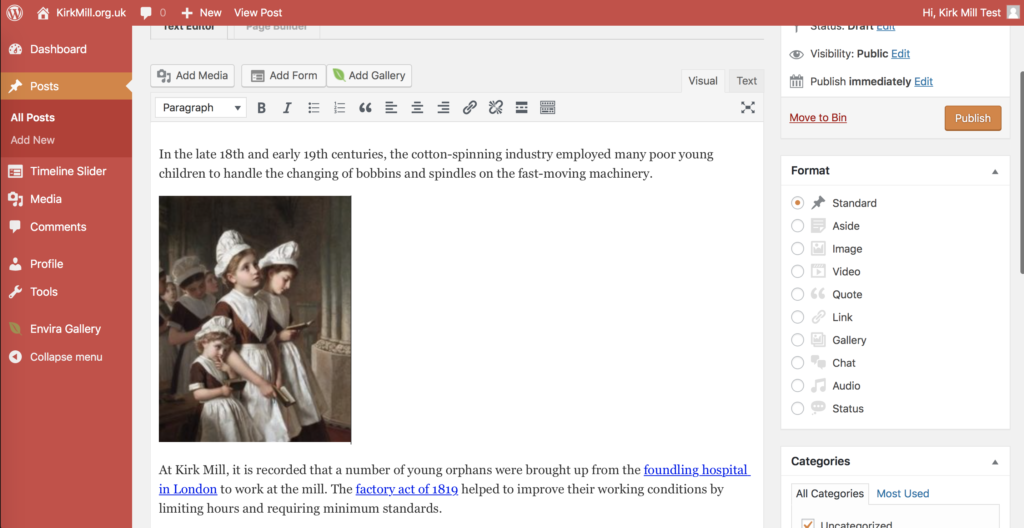
4. Your image appears in your post
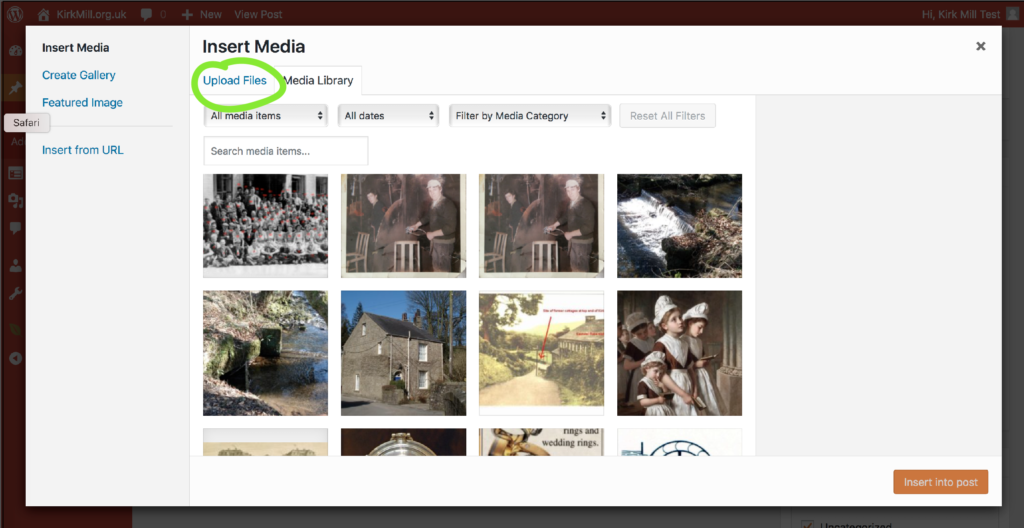
5. To add a new image to the library, click ‘Add Media’ as before but this time, select ‘Upload Files’
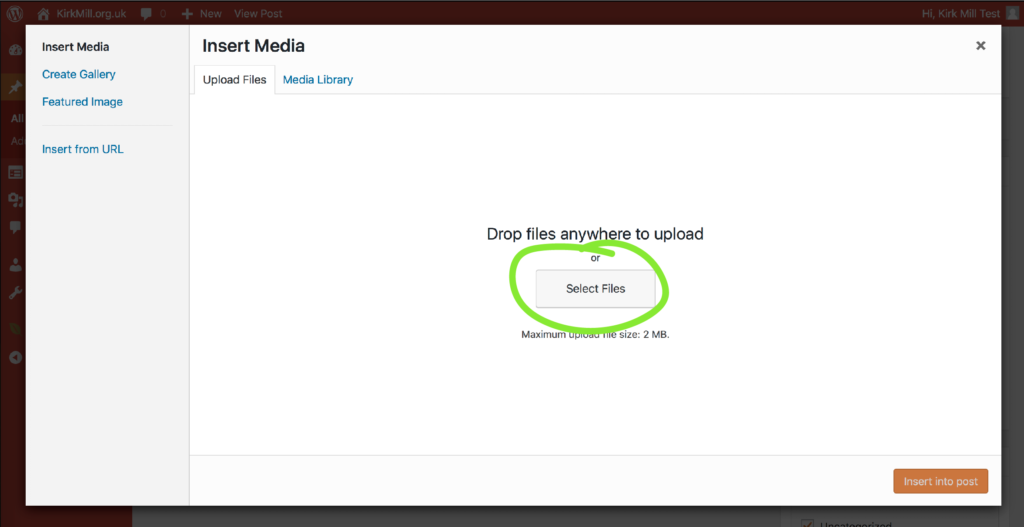
6. A window will appear for you to ‘Select Files’. Click on this and select the image from your local computer files.
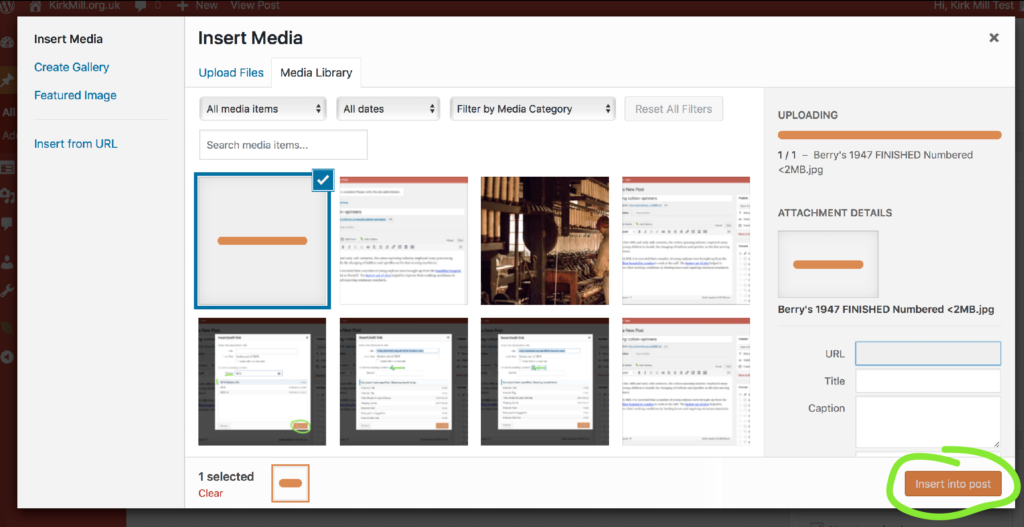
7. It will take a few seconds for the new image to upload. Once it is uploaded, click ‘Insert into post’
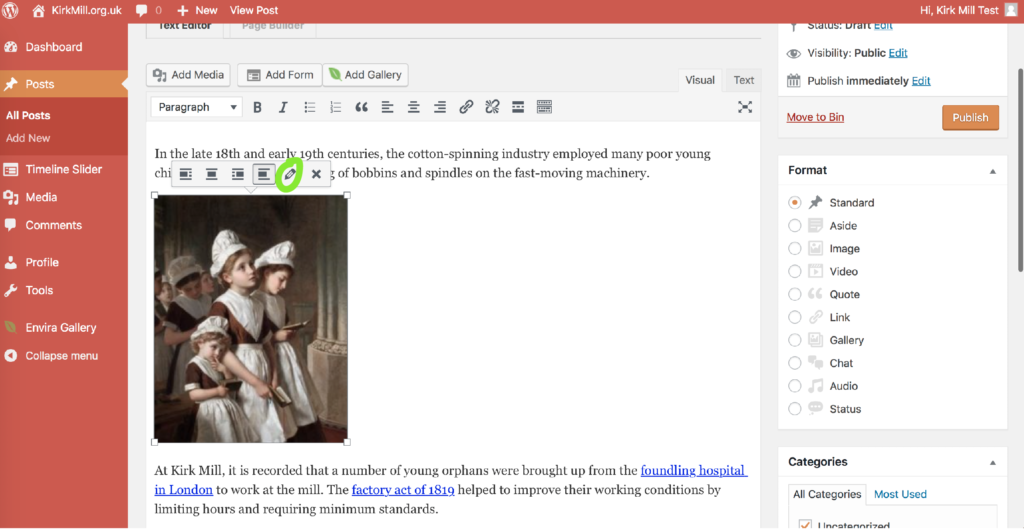
8. To Caption, resize and reposition your image, click inside the image that you have inserted into your post. The area will then be outlined and a small box will appear. Click on the ‘edit’ pencil
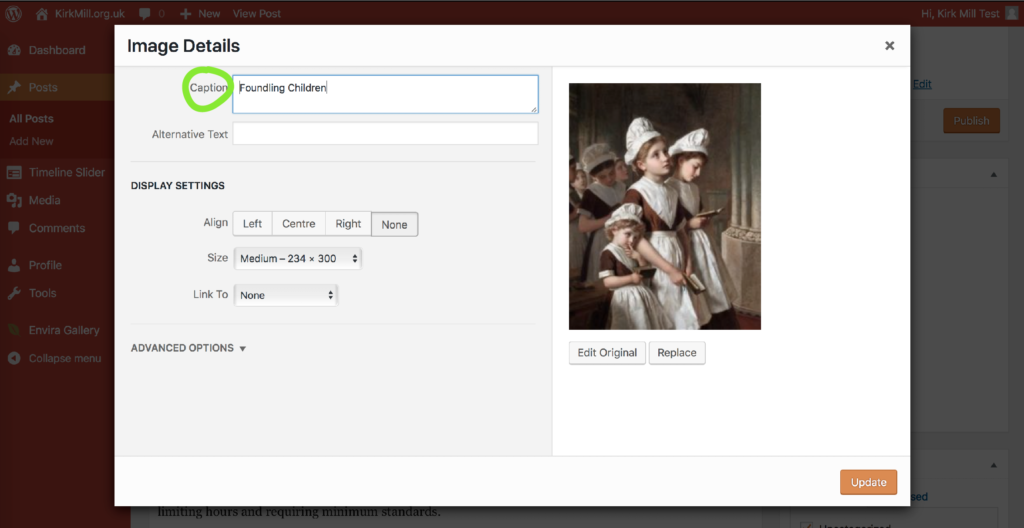
9. A new window opens where you can add a caption and adjust display settings.
Add the caption text to the appropriate box
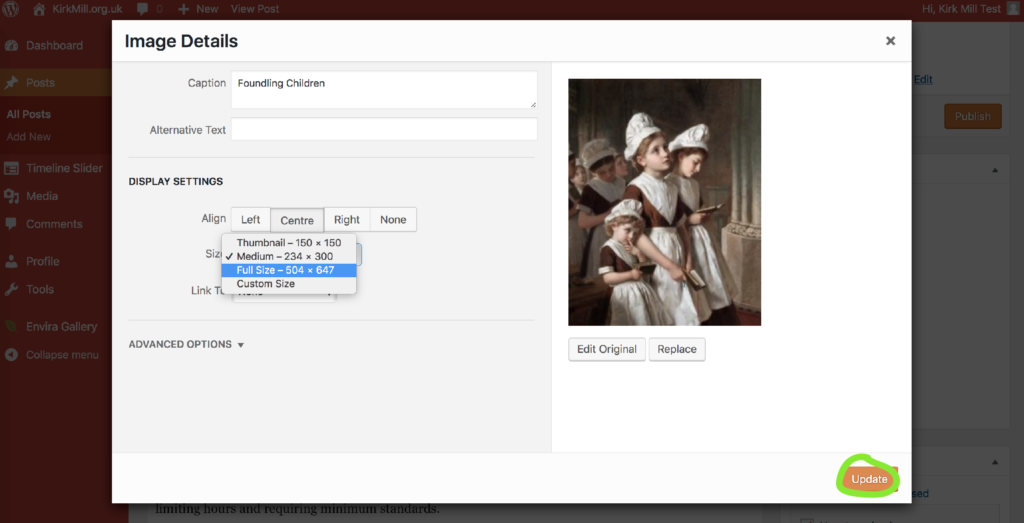
10. Under display settings, you can choose whether to align your image to the left, right or centre (or if you’re not bothered, just leave it at ‘None’). I’m going to align this image to the centre.
Under ‘Size‘, click on the dropdown menu and select the size you want your image to be. There is also an option to enter custom measurements.
I’m going to make the image ‘Large’.
Then click ‘Update’
11. Simples! All done! Don’t forget to ‘Update your post‘!!